Auth0 is one of the largest players in the authentication-as-a-service sector. They’re secure and have many options for most of the platforms used. They claim to be an easy to implement, adaptable authentication and authorization platform. Today. Also, Auth0 allows up to 7000 users with 2 social media connectors (think Google or Facebook logins) for free! I’d like to implement Auth0 authorization in an Angular(13) SPA and use ASP.NET Web API to act as the rest server. The source code can be found on Github here.
In this part, I’ll be setting up Auth0 and have an Angular application communicate with it. It’ll support logging in and out. In part 2, I’ll add a .NET 6 Web API application to the mix.
First thing’s first. We need to setup Auth0. So create a user on Auth0.com and login (creating if need) then your dashboard should look like this:

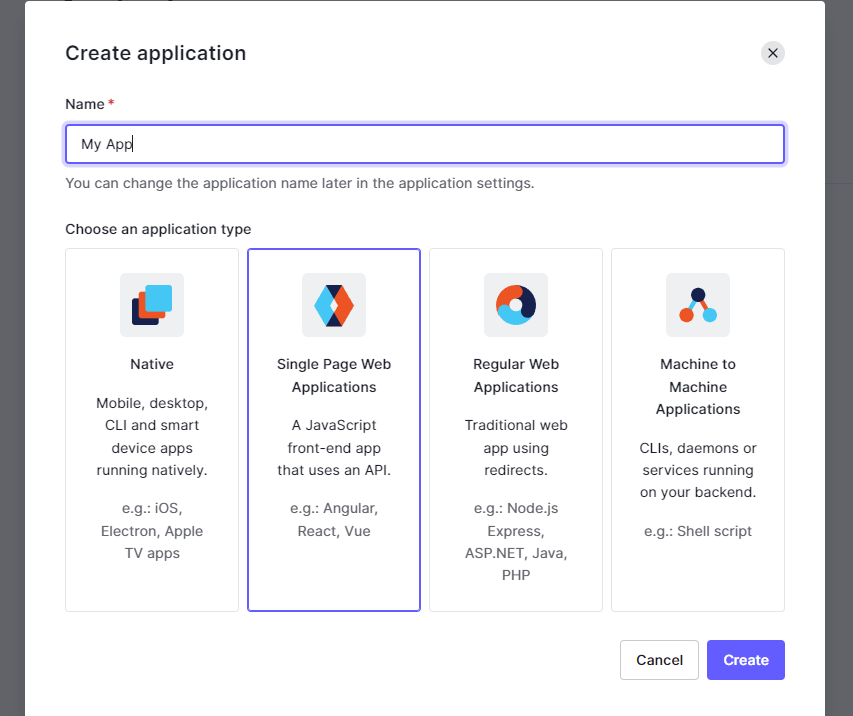
Select Applications and then applications underneath that. Then select ‘Create Application’:

From there, pick an app name and select ‘Single Page Web Applications’:
Now, you should be in the application settings. From here, scroll down to ‘Application URIs’ and set ‘Allowed Callback URLs’, ‘Allowed Logout URLs’, and ‘Allowed Origins (CORS) all to http://localhost:4200 which is Angular’s default startup URL.
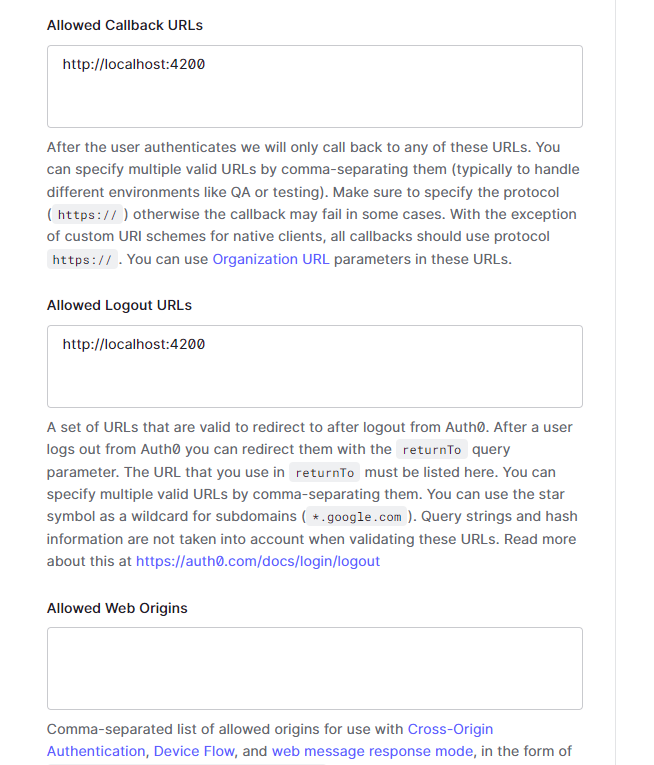
Once that’s complete, scroll to the bottom and Save Changes. We’ll use this configuration later inside of the Angular and .NET applications.
Angular is a feature-rich Single Page Application framework. It runs using typescript, uses CSS/SASS/SCSS, has an optional routing system, and has its own HTTP module for calling rest endpoints. Let’s get it set up.
First, we’ll need to install NodeJS. It’s an easy download and install – Link Here. According to the Angular site, Angular 13 requires a NodeJS version above 14.15.0 or 16.10.0.
Next, is to install the Angular Command Line Interface (CLI). Open a command prompt and run the following:
npm install -g @angular/cliNow, it’s time to create a new Angular application. Type this in a command prompt:
ng new web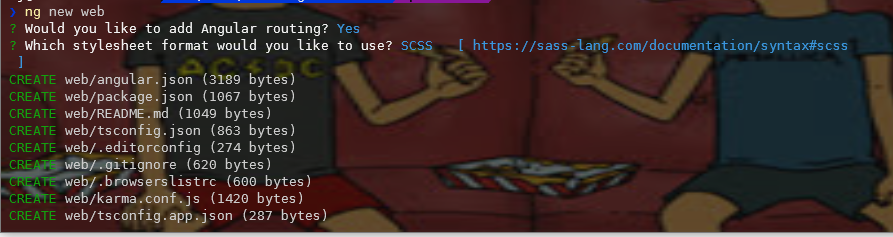
This will create a folder named web and install Angular in that folder. The CLI will if you’d like to use Angular routing. I just select yes for this. Next, it’ll ask you if you’d like to use CSS, SASS, or SCSS. I usually choose SCSS since that’s what I’m most familiar with. Feel free to choose which you like.
Ok, change to the new directory and run:
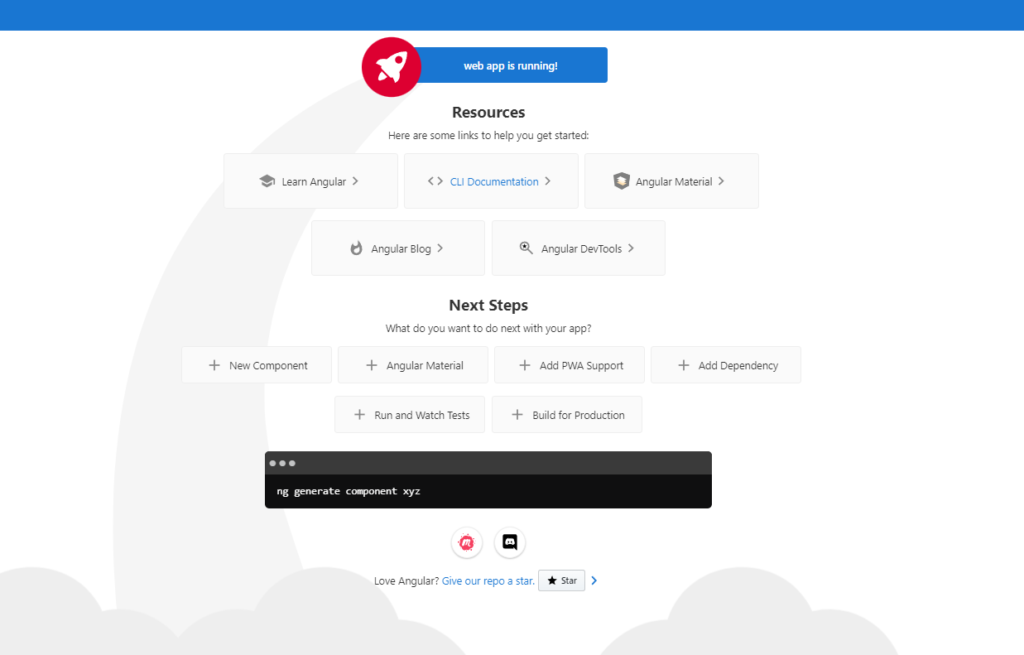
ng serveThis should start the application in development mode. Once it’s finished building, you can navigate to the page by going to http://localhost:4200 in your favorite web browser.
Next, open the new folder in your favorite IDE. I use VS Code so I will type ‘code .’ from that directory and VS Code opens that location.
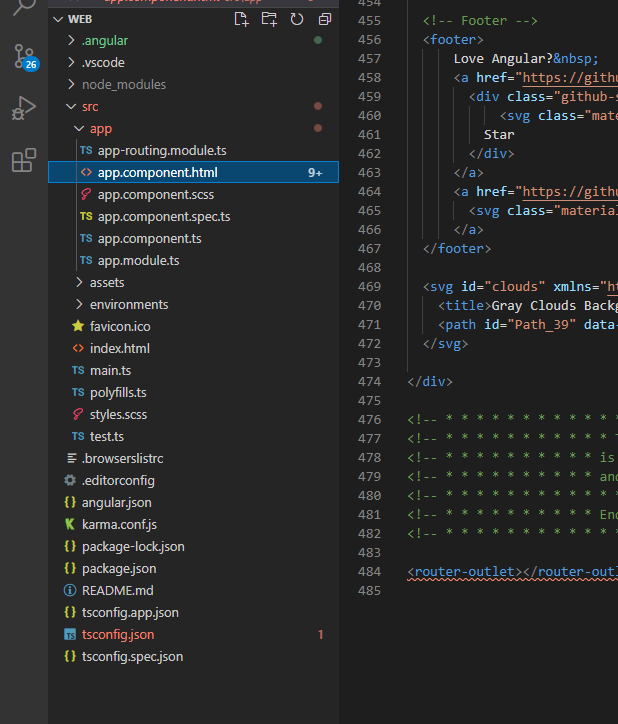
Navigate to src/app and select app.component.html. This it the main / first page of the application. Once there, remove everything and add this:
<h1>Hello Angular!</h1>

<router-outlet></router-outlet>
Once saved, the CLI should rebuild the app and automatically reload the page. It should simply say ‘Hello Angular’. Technically, we don’t need router-outlet but I left it there in case we want to extend the application later.
Now, let’s install the Auth0 Angular framework. Open a command line in the web folder and type:
npm i @auth0/auth0-angularAngular internally has support for different environments. Each environment can contain variables to use for that environment. When building the application, you can set which environment to use. It comes by default with a development environment as well as one for production. It’s location in the environments folder. I will use the environment.ts file in this folder to set our configuration for Auth0. I need to set the domain, and clientId.
export const environment = {
  production: false,
  auth: {
    domain: 'Auth0Domain',
    clientId: 'Auth0ClientId',
  }
};
These can be retrieved from your application settings in Auth0.
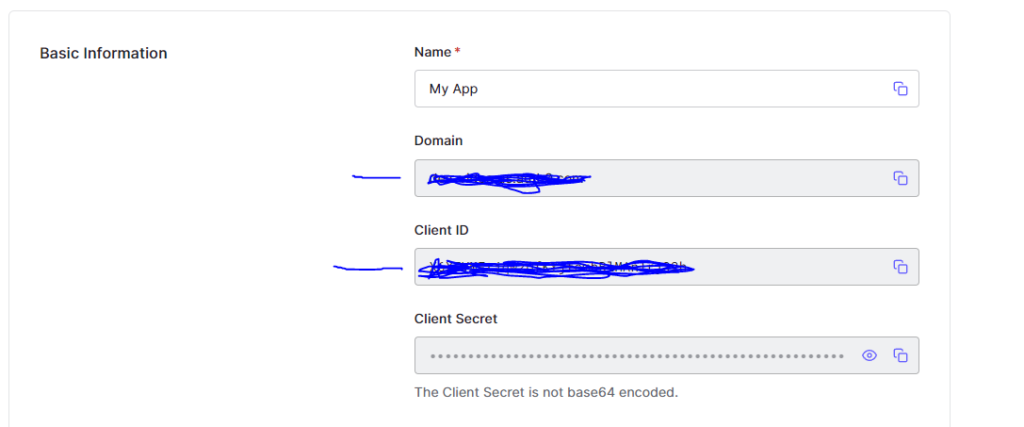
So set that in your environment.ts file and we’re good to go. Now, we’ll configure the Auth0 client to connect to Auth0’s server (your application).
Next, open the app.module.ts file and update it to this:
import { NgModule } from '@angular/core';
import { BrowserModule } from '@angular/platform-browser';

import { AppRoutingModule } from './app-routing.module';
import { AppComponent } from './app.component';
import { AuthModule } from '@auth0/auth0-angular';
import { environment as env } from '../environments/environment';

@NgModule({
  declarations: [
    AppComponent
  ],
  imports: [
    BrowserModule,
    AppRoutingModule,
    AuthModule.forRoot({
      domain: env.auth.domain,
      clientId: env.auth.clientId
    })],
    providers: [],
    bootstrap: [AppComponent]
})
export class AppModule { }
In this code, I added in import for the environment variable, and the Auth0 AuthModule. Under the imports, I added the AuthModule.forRoot call using the domain and client id from the environment variable. That’s all that was changed.
Let’s add login and logout functionality. Inside the app.component.ts file, add a reference to the document and inject that into the AppComponent. Next, add the AuthService like so:
import { Component, Inject } from '@angular/core';
import { AuthService } from '@auth0/auth0-angular';
import { DOCUMENT } from '@angular/common';

@Component({
  selector: 'app-root',
  templateUrl: './app.component.html',
  styleUrls: ['./app.component.scss']
})
export class AppComponent {
  constructor(@Inject(DOCUMENT) public document: Document,
  public auth: AuthService){ }
}
Next, let’s update the html to support logging in and out:
<div>
  <ng-container *ngIf="auth.isAuthenticated$ | async; else loggedOut">
    <button (click)="auth.logout({ returnTo: document.location.origin })">
      Log out
    </button>

    <div *ngIf="auth.user$ | async as user">
      <h1>Welcome!</h1>
      <h2>{{ user.name }}</h2>
      <h2>{{ user.email }}</h2>
    </div>
  </ng-container>
  <ng-template #loggedOut>
    <button (click)="auth.loginWithRedirect()">Log in</button>
  </ng-template>


  <router-outlet></router-outlet>
</div>
This checks if the user is authenticated which is an async call so that’s why the async filter is used. If there’s nobody logged then the #loggedOut template is displayed which displays a Login button. If the user is authenticated, then it displays the name and email of the user. Let’s test it. In the browser, hit the login button and you should be directed to the Auth0 login page:
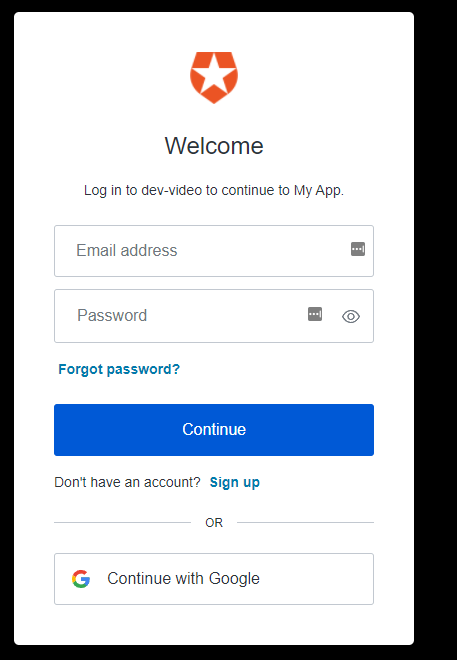
Note, by default, the login page includes Google authentication. This uses Auth0 developer keys so if you’re logged in and refresh the page, you’ll be automatically logged out. Go ahead and login, and you should be redirected back to the application which should look something like this:
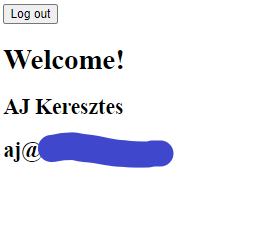
Next, try logging out and it should redirect you back to the page and display the login button.
Ok, we’ve got Angular and Auth0 communicating. In part 2, we’ll setup a .NET 6 Web API application and have it use the JWTfor authentication. Thanks for reading!